Archive
- March 2024 (1)
- February 2024 (2)
- January 2024 (1)
- November 2023 (1)
- July 2023 (1)
- May 2023 (1)
- February 2023 (1)
- June 2021 (2)
- April 2021 (2)
- February 2021 (2)
- January 2021 (6)
- October 2020 (4)
- September 2020 (3)
- August 2020 (6)
- July 2020 (5)
- June 2020 (4)
- May 2020 (6)
- April 2020 (7)
- March 2020 (5)
- February 2020 (5)
- January 2020 (5)
- December 2019 (5)
- November 2019 (6)
- October 2019 (5)
- September 2019 (1)
- March 2018 (10)
- February 2018 (7)
- January 2018 (10)
- December 2017 (7)
- November 2017 (7)
- October 2017 (10)
- September 2017 (8)
- August 2017 (10)
- July 2017 (8)
- June 2017 (9)
- May 2017 (13)
- April 2017 (10)
- March 2017 (10)
- February 2017 (10)
- January 2017 (11)
- December 2016 (12)
- November 2016 (16)
- October 2016 (15)
- September 2016 (5)
- August 2016 (17)
- July 2016 (15)
- June 2016 (16)
- May 2016 (19)
- April 2016 (12)
- March 2016 (20)
- February 2016 (17)
- January 2016 (21)
- December 2015 (20)
- November 2015 (7)
- October 2015 (1)
- September 2015 (1)
- July 2015 (7)
- June 2015 (2)
- May 2015 (1)
- April 2015 (1)
Close
Archive
- March 2024 (1)
- February 2024 (2)
- January 2024 (1)
- November 2023 (1)
- July 2023 (1)
- May 2023 (1)
- February 2023 (1)
- June 2021 (2)
- April 2021 (2)
- February 2021 (2)
- January 2021 (6)
- October 2020 (4)
- September 2020 (3)
- August 2020 (6)
- July 2020 (5)
- June 2020 (4)
- May 2020 (6)
- April 2020 (7)
- March 2020 (5)
- February 2020 (5)
- January 2020 (5)
- December 2019 (5)
- November 2019 (6)
- October 2019 (5)
- September 2019 (1)
- March 2018 (10)
- February 2018 (7)
- January 2018 (10)
- December 2017 (7)
- November 2017 (7)
- October 2017 (10)
- September 2017 (8)
- August 2017 (10)
- July 2017 (8)
- June 2017 (9)
- May 2017 (13)
- April 2017 (10)
- March 2017 (10)
- February 2017 (10)
- January 2017 (11)
- December 2016 (12)
- November 2016 (16)
- October 2016 (15)
- September 2016 (5)
- August 2016 (17)
- July 2016 (15)
- June 2016 (16)
- May 2016 (19)
- April 2016 (12)
- March 2016 (20)
- February 2016 (17)
- January 2016 (21)
- December 2015 (20)
- November 2015 (7)
- October 2015 (1)
- September 2015 (1)
- July 2015 (7)
- June 2015 (2)
- May 2015 (1)
- April 2015 (1)
Back to Blog List
Topics/Previous Posts
Back to Blog List
Bridal Shower Mini Albums with Deflecto Vinyl Pouches
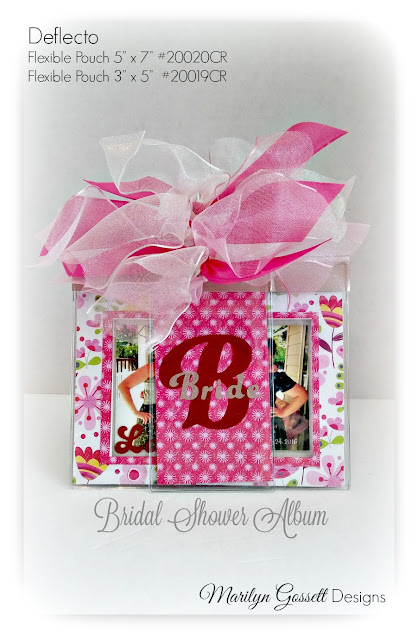
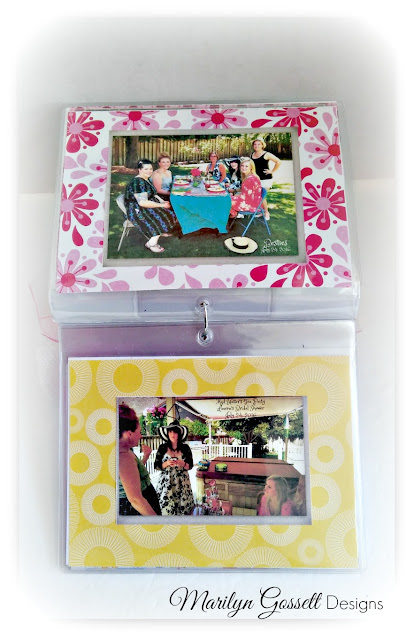
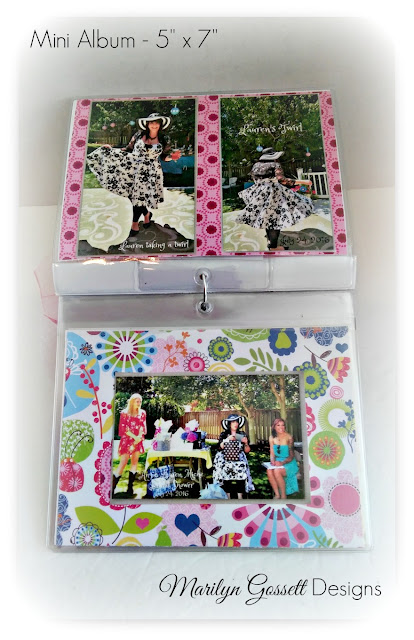
Summer greetings! Many bridal showers and weddings are happening this time of year! My daughter got married last Summer, and we had a bridal shower for her last July! I had lots of pictures to share and wanted to make a gift of a mini photo album for family and friends who were involved in the shower and wedding. Deflecto flexible pouches are the perfect solution to keeping the photos pristine through a lot of handling. I will show you how I made my mini albums below.
You will need:
Deflecto: Flexible Pouches 5″ x 7″ #20020CR; 3″ x 5″ #20019CR
Deflecto: Pear Clip, 2-1/2″ #20012CR (one for each album)
12 x 12″ Memory Papers: Contrasting papers of the same color family
Vinyl for lettering: Colors of your choosing
Vinyl transfer paper
Paper Trimmer
Adhesives
Ribbons: Colors of your choosing
Scissors
Die-cutting machine
Directions:
First, select your photos and make sure they are sized small enough to mat and apply to the background paper with plenty of area around each photo.
Select colors of solid and patterned papers that will coordinate throughout the mini album. I used a 12″ x 12″ paper pad, and they had already coordinated the papers!
Create a background for your page. Cut slightly smaller than 5″ x 7″ paper for your background page. Cut a mat paper slightly larger than the photo. A double mat can be applied to the focal point photo if you prefer.
Check your layout but do not apply adhesive until you have placed the photos. Dry placing the photos before applying adhesive is a sure way to get them the way you like them before adhering them to the page.
Working from the front of the album; right side up; you will need to reverse the position of each scrapbook page on the back or reverse side of each page. I arranged each page and then inserted into the front and back of each pouch.
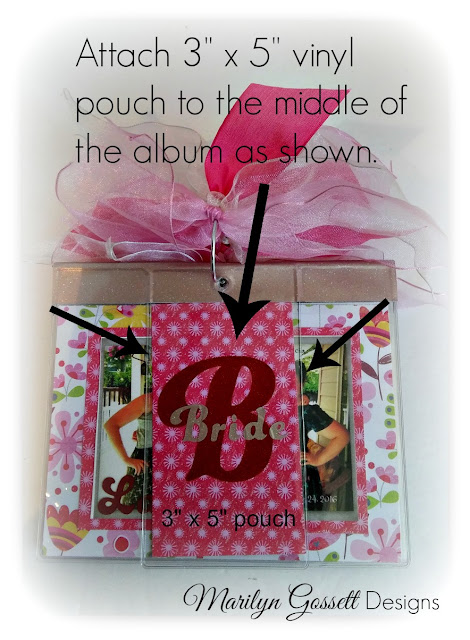
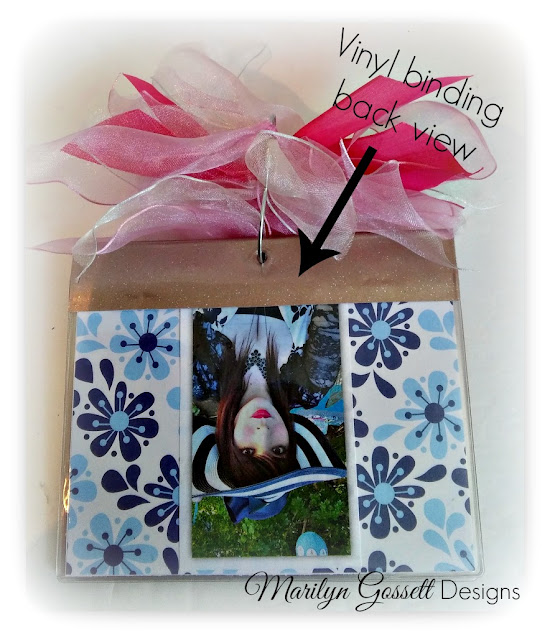
After completing all of the album pages; put them in a pile with all of the edges matching. Cut a 4″ x 7″ piece of adhesive vinyl. Adhere it to the top edges’ front and back to “bind” the pages together.
Punch a hole in the vinyl matching to the holes in the stack of pouches. Attach the pear clip.
Cut and tie ribbons to the pear clip. One ribbon or ten! Up to you! Trim the ribbon tails at an angle.
Cut a vinyl monogram B and adhere it to the front of the 3″ x 5″ pouch.
Cut the word Bride from another color of vinyl and adhere to the top of the B as shown.
I recommend cutting the letter and word from memory paper first to make sure it is the right size and fits on top of the pouch.
BONUS!
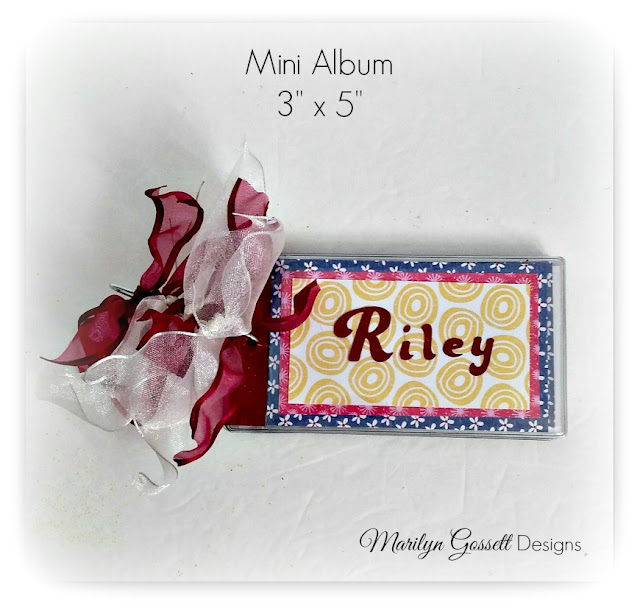
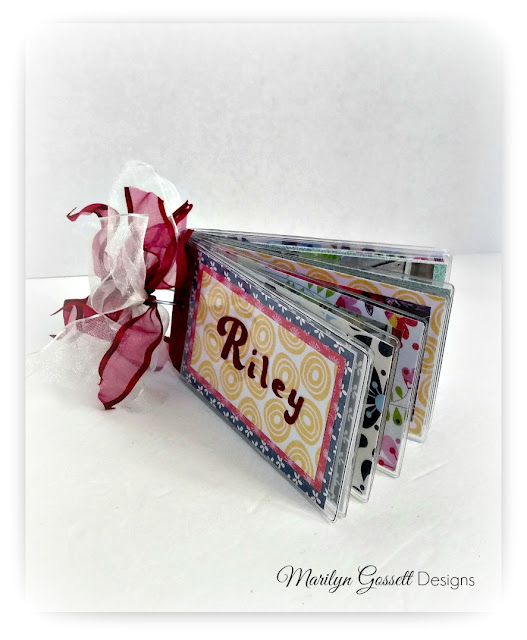
I made a mini album using the 3″ x 5″ pouches. I used the same technique as shown above. My daughter has a long haired dachshund named “Riley.” This mini album was dedicated to her.
Below is a picture of Riley all decked out for the 4th of July!
Thanks for stopping by!
Make sure to take time to enjoy the small blessings along the way and;
Live Life with a Flourish!
Marilyn
